Its very easy to set up round button like the application bar in Windows Phone 7. It’ll be round (obviously), theme aware and will reverse the colors on press.

I searched for some XAML code to do so, but some of them can just round the edges OR were just theme aware. I combined them and voila ! Application bar like buttons !
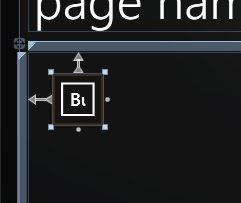
- Open Visual Studio and Windows Phone Application Project. Create a regular button and re-size it to 72 x 72
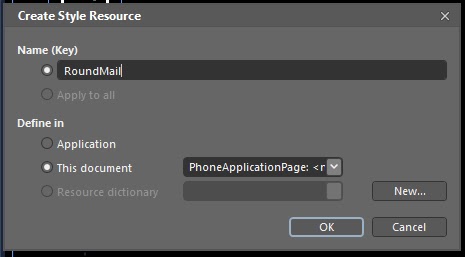
- Now open the project in Expression Blend. Right click on the button you created and go to Edit template -> Edit Copy. You will have following dialogue. Rename the name key to “RoundMail” because we’ll insert the E-Mail png in it. Click OK.
- Again right click on the button and select View XAML because we’ll be altering design via code. Find and delete the following code:
<ContentControl x:Name=”ContentContainer” ContentTemplate=”{TemplateBinding ContentTemplate}” Content=”{TemplateBinding Content}” Foreground=”{TemplateBinding Foreground}” HorizontalContentAlignment=”{TemplateBinding HorizontalContentAlignment}” Padding=”{TemplateBinding Padding}” VerticalContentAlignment=”{TemplateBinding VerticalContentAlignment}”/>
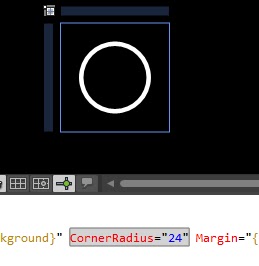
- Find CornerRadius in Border tag and set the any arbitrary value greater than 24 like this
CornerRadius=”30″
- Now the button will look like this. We have the round button ! but still empty :(
- Now copy the whole
<Border.OpacityMask><ImageBrush Stretch=”Fill” ImageSource=”mail.png”/></border.opacitymask>
- and change the background property to
Background=”{StaticResource PhoneForegroundBrush}”
- so it will be now
<border background=”{TemplateBinding Background}” borderbrush=”{TemplateBinding BorderBrush}” borderthickness=”{TemplateBinding BorderThickness}” cornerradius=”24″ margin=”{StaticResource PhoneTouchTargetOverhang}” x:name=”ButtonBackground”>
</border>
<border background=”{TemplateBinding Background}” borderbrush=”{TemplateBinding
BorderBrush}” borderthickness=”{TemplateBinding BorderThickness}” cornerradius=”24″ margin=”{StaticResource PhoneTouchTargetOverhang}” x:name=”ButtonImage”></border></div>
<div style=”text-align: justify;”>
<border.opacitymask>
<imagebrush imagesource=”mail.png” stretch=”Fill”>
</imagebrush>
</border.opacitymask>
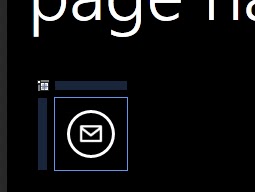
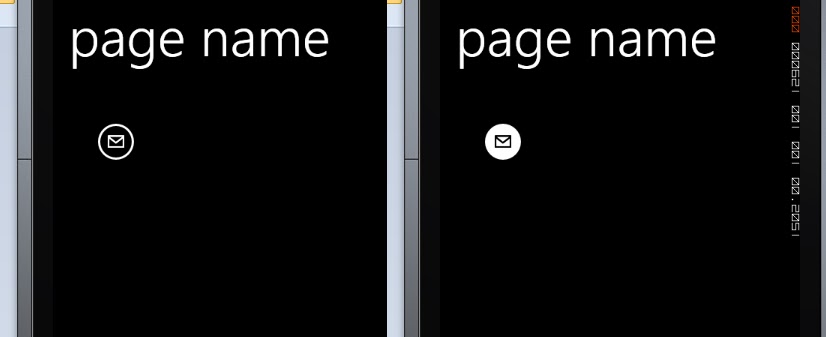
- So the button is now theme aware. (You can check by running the project). Still it does not respond to touch.
- Add this code to the visual state pressed in the storyboard.
<objectanimationusingkeyframes storyboard.targetname=”ButtonBackground” storyboard.targetproperty=”BorderThickness”></objectanimationusingkeyframes></div>
<discreteobjectkeyframe keytime=”0″ value=”0″>
</discreteobjectkeyframe>
<objectanimationusingkeyframes storyboard.targetname=”ButtonImage” storyboard.targetproperty=”Background”>
<discreteobjectkeyframe keytime=”0″ value=”{StaticResource PhoneBackgroundBrush}”>
</discreteobjectkeyframe>
</objectanimationusingkeyframes>
- Save and run the project !! :D
You can change the image to the one you want ! It Works !!
Finally check out some of my Windows Phone Apps using this “Round Button”:
http://www.nirm.it/blog/p/apps.html